Showing posts with label refined sugar free. Show all posts

Tuesday, May 6, 2014

Healthy Melt in Your Mouth Chocolatey Muffins

About 8 months ago I found a recipe for Healthy Chocolate Cake here. The first time I made it I thought "These are really good", but I did not want to make the suggested chocolate frosting (if you have young children, you understand why). It's a really good cake, but without the frosting it is not as exciting as the original creator had intended. I decided it was time to improvise a bit and come up with something tasty to satisfy my chocolate cravings but be kid-friendly at the same time. Over the months I have tweaked the former recipe and have ended up with these Healthy Melt in Your Mouth Chocolatey Muffins. You will NOT be disappointed! Trust me.


These mini muffins are the perfect size for tiny hands, and the addition of chocolate chips keeps anyone from wondering where the frosting went. Because of how healthy and delicious these are, they are an excellent substitution to fat and calorie laden desserts even if you eat 3 or 4 at a time. 


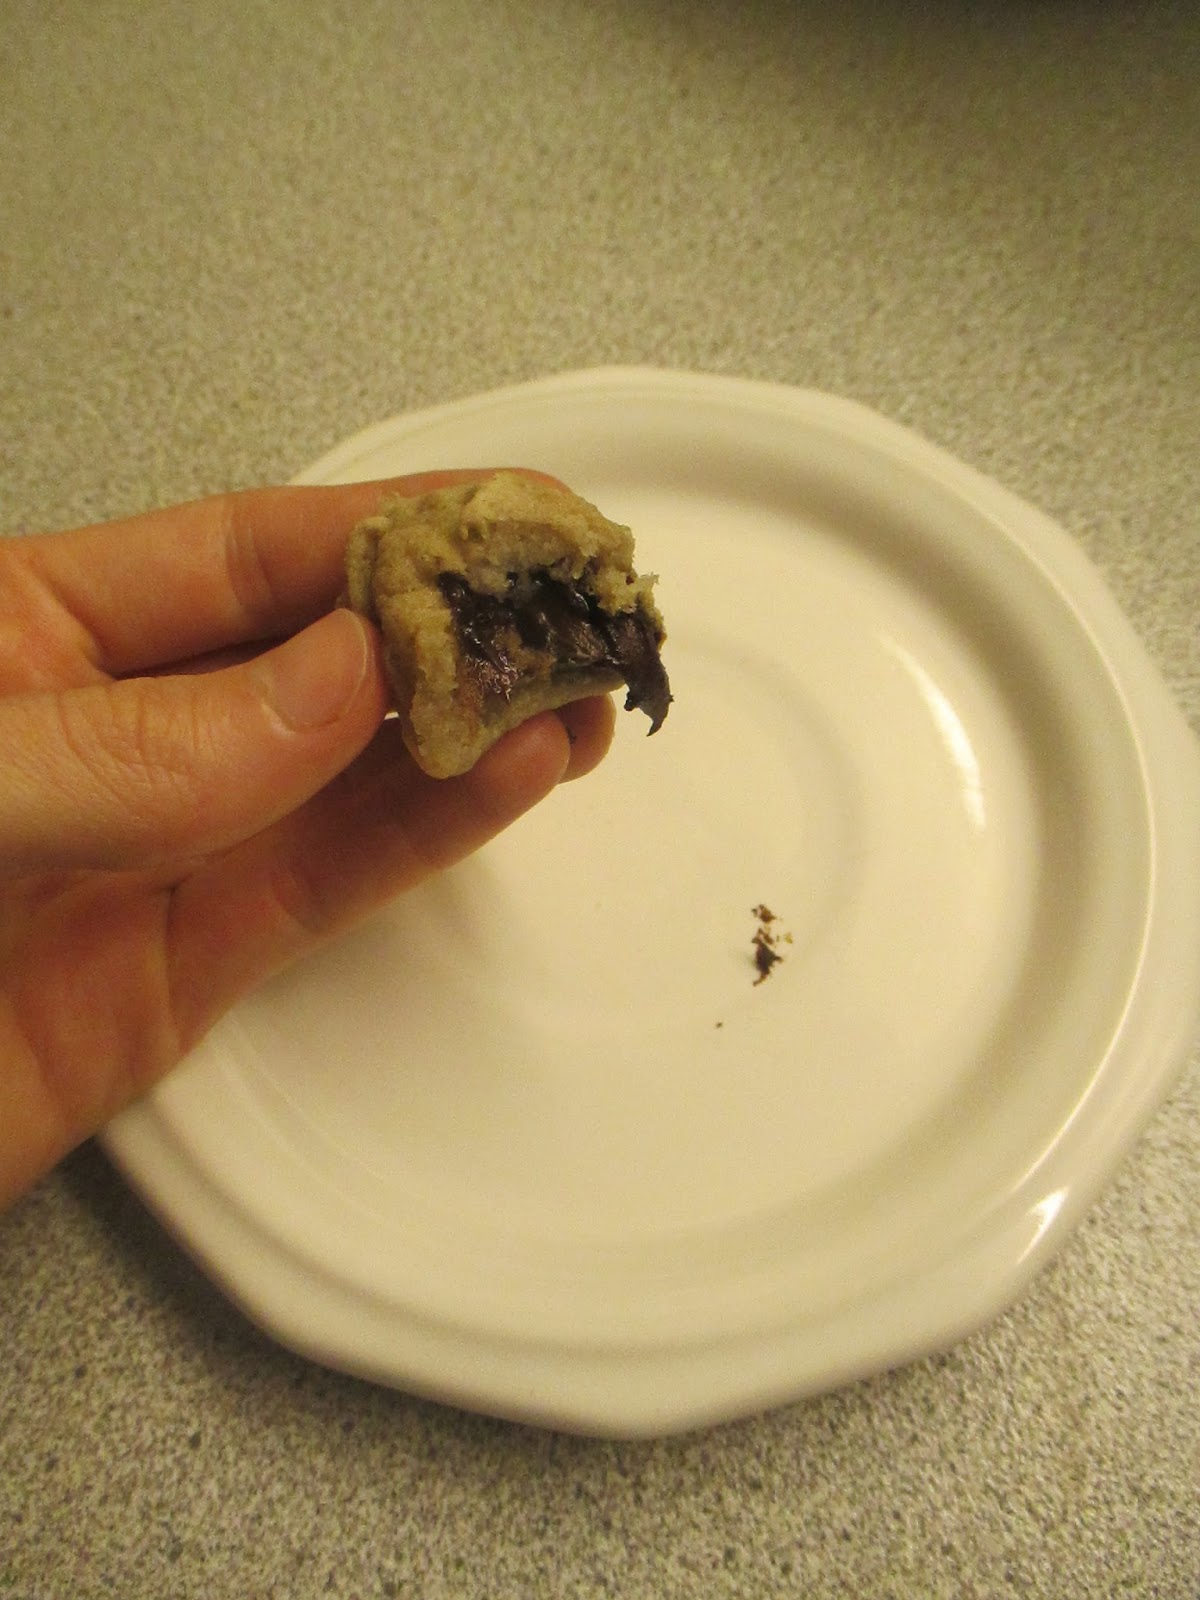
These are soft and full of melty chocolate when served warm, but eating them at room temperature keeps the mess at bay while still making everyone happy. My toddler loves these as much as I do...we may just inhale 48 of these mini muffins within 3 days. Which is good since that's how long I'd leave them sitting on the counter before moving them into the fridge. They will last for about 7 days in the fridge and in the freezer for 3 months. These freeze great. When you are ready to eat them, just thaw them in the fridge overnight and pull them right out of the fridge and into your mouth OR pop them in the microwave for 20-30 seconds for a nice warm treat. Caution: you can't eat just one.


Healthy Melt in Your Mouth Chocolatey Muffins
(Can be Gluten free, dairy free, egg free, nut free, refined sugar free, Vegan, Vegetarian, low sugar)
Makes 48 mini muffins or 24 medium size muffins

Ingredients (my list of ingredients make a double batch compared to the original recipe)
  • 1 1/2 cups Gluten-free all-purpose flour (or all-purpose wheat flour if gluten is not a problem)
  • 2/3 cup cocoa powder
  • 4 tsp baking powder
  • 1 tsp baking soda
  • 2 cups unsweetened applesauce 
  • 1/3 cup of Splenda, Stevia, or Sugar*
  • 1 tbs vanilla flavoring
  • 1/3 cup chocolate chips (dairy free)*
  • Spray canola oil**
Directions
  1. Spray two mini muffin pans with the canola oil.
  2. In a large bowl combine the flour, cocoa, baking powder, and baking soda.
  3. In another bowl combine the applesauce, Splenda, and vanilla.
  4. Pour the wet ingredients into the dry and stir until fully mixed together.
  5. If the mixture is not a thick cake-like consistency add a bit of milk (soy, almond, or cow) or water to the mix and stir.
  6. Add 1/3 cup of chocolate chips to the bowl and fold in. 
  7. Turn your oven onto 180 degree C or 350 degrees F. (I turn my oven on here to save electricity and from keeping my house from getting too hot in the summer.)
  8. Pour the mixture into the muffin pans.
  9. Bake for about 10 minutes. Since ovens cook differently, check them at 8 minutes to make sure they don't burn.

This is how your mixture should look before adding the chocolate chips.

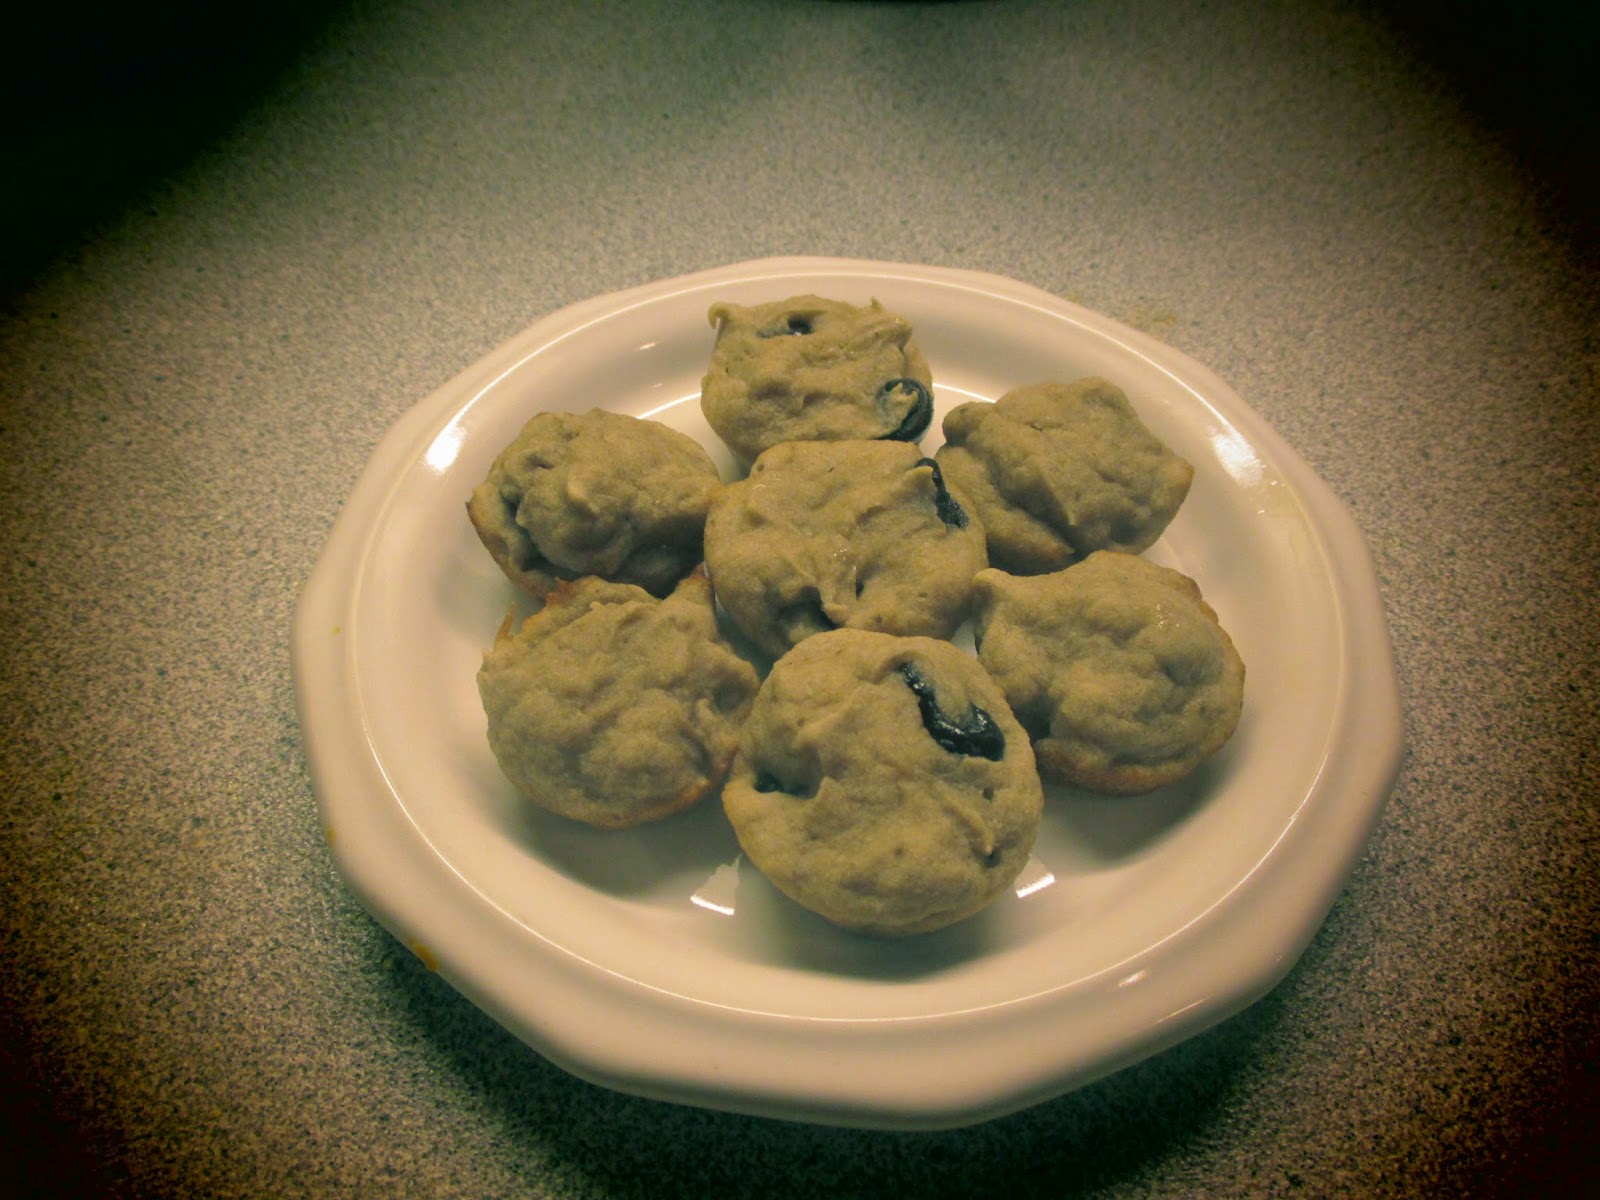
Fill up the cups 2/3 of the way to get 48 mini muffins.
They may seem a little small at first because of how big
America's portion sizes have become, but eating 3 of these
will leave you very satisfied!

Make sure you let them cool before you bite into one.
I know it's hard, but the wait is worth it :)

If you like this recipe, please feel free to CLICK one of the "Reactions" below above the comments and/or add this recipe to your Pinterest board and/or share on Facebook! Thanks :)

Notes:
*I prefer to use Splenda or Stevia, but for those of you that prefer to use sugar please do. It will not alter the recipe and will be just as delicious! If you don't want to add the chocolate chips, do 1/3 cups of sweetener in their place. This would give you a total of 2/3 cup of sweetener. 
**You can use any oil or butter in place of the spray oil to grease your pan.

Nutrition Facts:
(per mini muffin with chocolate chips and splenda)
Cals-29, Fat-0.7g, Carb-6g, Fiber-0.4g, Sugar- 1g, Pro-0.7g


Thursday, May 1, 2014

No Hassle Crock Pot Salsa Veggie Chicken

I absolutely love Pinterest. Ok... maybe I'm going a little overboard with the "love", but I sure can't help but be thankful for the invention of the website that gives me idea upon idea for new meals/foods to make for my family and friends! Before Pinterest it took me hours to plan my meals for the week by searching for recipes that fit my dietary needs with search engines, my bookshelf full of cookbooks, and through word of mouth. It still takes some time and I do use my cookbooks and search engines occasionally, but the amount of time it takes is definitely less and the number of recipes I have sitting around waiting for me to make has greatly increased! Now I am even more excited to get into the kitchen and try out all of these delicious looking recipes.

Yesterday I made one of those "Thank You Lord for such a great and easy recipe" pins. I was so pleased with the outcome. It was delightful to the taste buds and took me no more than 10 minutes to prepare. The original recipe has only 3 ingredients, but I enjoy vegetables WAY too much to stop there. The addition of mushrooms, corn, onions, and tomatoes was needed. This made the meal even more healthy and refreshing. Vegetables always make me feel more full and satisfied without being weighed down. I got the "okay" from the original chef to post my version of her recipe. You can find the original recipe here and also on my Pinterest page.

While this was cooking, I was doing more important things...like cuddling with my babies :)

Another thing that is great about this recipe is that it is never-ending. OK..so it will end eventually..maybe. We have had "this" meal twice already and will have it again for dinner tonight. There was so much sauce left but not many vegetables or meat, and you do not throw this tasty sauce away. I think I would cry. But seriously. Last night before we went to bed I added a different kind of meat, more vegetables, and a can of diced tomatoes and voila! Plug in the rice cooker an hour before lunch, and lunch was served at noon. While I was NOT cooking I was building a fort with my 2.5 year old, snuggling with my baby boy, and watching Veggie Tales (not in that order). My husband loved the lunch so much he asked if we could have it again tonight for dinner. HA! REALLY?? OK! :) So, I added more meat, different vegetables this time, and some homemade chicken broth. Turned on the crock pot and DONE. Tonight we will have a similar but almost like new dish that I once again will not be slaving over before dinner (leftover rice here we come!). You can also omit the meat, add more beans and vegetables, and create a vegetarian version of this dish.

The meat was so tender that it falls to pieces. Cut the chicken?
No thanks. It does it for you. :)

There are so many different ways that you can make this dish to suit your family's needs. Once you make the main portion of this meal in the crock pot, the options are limitless as to how you can eat it. I prefer to have a Salsa Chicken Salad. My husband likes rice with EVERYTHING. The good news is that not much extra work needs to be done once the meal is cooked. Make sure you have all your favorite taco type topping available so each person can make their own delicious finished masterpiece. I will give you some ideas, and why don't you see what amazing dishes you can come up with? Afterwards, please share with me a picture or description of how it turns out! I'd love to hear about it.

My favorite way to enjoy this meal is on a bed of spinach with Vegan sour cream on top. YUM!

No Hassle Crock Pot Salsa Veggie Chicken
(Can be gluten free, dairy free, nut free, egg free, Vegan, Vegetarian, refined sugar free, low carb)
Makes several servings. Can feed at least 4 people.

Ingredients
  • Chicken or Vegetable broth
  • Fresh mushrooms, about 8-10 or 1 cup chopped*
  • 2 cups of fresh or frozen chopped onions*
  • 1 1/2-2 lbs. boneless, skinless chicken breast or thighs, ground turkey, or omit for vegetarian**
  • One 16 ounce jar of your favorite salsa (mild, medium, or hot)
  • 2 cups frozen or canned corn (drain and rinse if canned)*
  • One 14.5 ounce can of diced tomatoes, drained*
  • One can of black beans, drained and rinsed
  • Taco fixings - tortillas, rice, tortilla chips, spinach or lettuce, tomatoes, sour cream, guacamole, cheese, etc.
  • Spray oil
Directions
  1. Spray crock pot with spray oil. I always do this to prevent any possible sticking or extra mess to clean.
  2. Pour the broth of your choice to cover the bottom of the crock pot. I do this to prevent the chicken from becoming dried out if using chicken breasts and to make more tasty sauce.
  3. Chop your mushrooms and onion if bought whole, and place them in the crock pot.
  4. Put meat of choice on top of the vegetables. This will cause the vegetables to soak in all the juice and be full of flavor.
  5. Pour beans, corn, and tomatoes on top to cover the chicken. 
  6. Pour salsa over the whole meal. 
  7. Cook on low for 6-8 hours or on high for 3-4 hours. 
  8. Do something fantastic with all your extra time.
  9. Serve with your favorite fixings and enjoy!

This dish makes me happy.

This dish made my husband ask for more!
If you like this recipe, please feel free to CLICK one of the "Reactions" below above the comments and/or add this recipe to your Pinterest board and/or share on Facebook! Thanks :)

Notes:
*These are the vegetables I chose to use because I know my families enjoys them. You can choose to use these vegetables or add your own favorite taco style veggies. Fresh or frozen or canned will work great for this recipe. It all depends on how much work you want to put into the prep work. If using canned vegetables, make sure you rinse and drain them before adding to the crock pot. Omit corn and eat as a salad if you want a low carb meal.
**I used chicken breasts the first time I made this dish. The second time I used ground turkey 7% fat and chicken thighs. Both ways were absolutely delicious and filling. You can also omit the meat all together if you want a Vegan or Vegetarian meal and add more beans and vegetables. If you try tofu, let me know how it turns out as I have no tried that yet.

Nutrition Facts: 
Due to the variety of vegetables, meat, sauce, and well everything, I am unable to give you this information.


Monday, April 28, 2014

Quick and Simple Asian Soy Tilapia

Would you like to have a bite??

We've been wanting to incorporate more fish into our diet, and tilapia is one of the easiest fish to cook and get other people to eat (cough cough..kiddos). It is a light, white fish and does not have a "fishy" smell as others do. My husband and I love fish and could eat it every day, but the smell in my house and getting my toddler to eat it poses a problem. My goal in life to find and adapt recipes that take as little time as possible to prepare, use minimal ingredients, are healthy, and taste GREAT. This dish fits all of those!

YUMMMMMMM

I had originally intended to try a new tilapia recipe that night; but the memory of gingery, soy, and sesame goodness kept coming back to me, and I couldn't stop thinking about it. So I did what any normal person would do. I quickly pulled out all the ingredients and got to work! 

This recipe is originally from an All You magazine. I get lots of really great and easy recipes from there! I only had to change one thing because I can be a bit lazy sometimes. :) Let's get to it!


Since the middle fillet was half the size of the other two, it soaked up a lot
 more of the sauce and looks much darker.

Quick and Simple Asian Soy Tilapia
(Can be gluten free, dairy free, nut free, egg free, refined sugar free, low carb)
Makes 4 servings

Ingredients
  • 4 tilapia fillets (5-6 ounces each)*
  • 2 tbs ginger powder**
  • 1/4 cup soy sauce (I used gluten free)
  • 2 tsp sesame oil
  • Black pepper (optional)
  • Tin foil 
Directions
  1. Preheat oven to 425 degrees. 
  2. Get out a large, rimmed baking sheet. I used a 9 x 14 (3 qt) Pyrex baking dish for 3 fish.
  3. Tear off four pieces of foil, each about 12-15 inches long or long enough to seal in each tilapia fillet.
  4. Place the foil pieces on the pan to avoid making a mess.
  5. Place a tilapia in center of each piece of foil. Spinkle 1 1/2 tsp ginger over each fillet or do as I do and just sprinkle as much as you think your eater will enjoy.
  6. Drizzle each with 1 tbs soy sauce and 1/2 tsp of sesame oil. Be careful to not let the liquid run outside of the foil.
  7. If you like black pepper, sprinkle as much as you would like on top of the fish. It does give it a bit of a kick, so unless you like pepper I encourage you to omit it or use just a little. 
  8. Surround the foil around the fish being sure not to lose any of that delicious juice and seal it by crimping the edges together. This will help the fish to steam and get all of the flavors soaked into it.
  9. Bake until fish is opaque. (Frozen fish will take 30-40 minutes; fresh fish will take 10-15 minutes.)
  10. Serve hot with rice and stir-fry mixed vegetables or make it into a salad with the stir-fry and enjoy! (If you have never had salad with hot stir-fry vegetables on top, you are missing out!)
Be EXTREMELY careful opening the foil packets. It is possible to get burned from the steam. 

If you like this recipe, please feel free to CLICK one of the "Reactions" below above the comments and/or add this recipe to your Pinterest board and/or share on Facebook! Thanks :)

Salad on the left; with rice on the right


Notes:
*I only used 3 fish because it is all the room I had in my pan. Frozen or fresh will work. See above in directions.
**The original recipe calls for grated fresh ginger, and one day when I don't have 2 children to care for and more time on my hands I would love to try it. Feel free if you have the ingredient and the time! :)

Nutritional Facts: 
(per serving w/ 5 oz fillet)
Cals-161, Fat-4.8g, Carb-1.5g, Fiber-0, Sugar-0.3g, Pro-23.3g


Sunday, April 27, 2014

Tiny Delicious Kid-pleasing Banana Muffins

For my first post, I can't think of a better recipe to give you than one of the first ones I ever adapted to fit my personal dietary needs while removing all added sugar, gluten, and dairy. It is a perfect snack or dessert for Vegetarians, Vegans, meat eaters, men, women, and children. My 2.5 year old LOVES them and asks for more and more!

Doesn't that look to die for?!

I really enjoy making tiny foods. There is something about being able to eat 2 or 3 and not feel guilty afterwards. The saying "You can't eat just one" applies to me with all sweet or salty treats. I can't contain myself. It's like my tummy is so happy it keeps saying, "MUST.EAT.MORE!!"

These muffins are the perfect size for little hands as well. My toddler has a thing for stuffing whole snacks into his mouth (no matter how big or small). I once gave him a regular size muffin, and he had as much stuffed into his itty bitty mouth as possible...not a pretty sight. These tiny muffins are the perfect size for those go-getters who like to devour foods in one bite. Me? I try to make them last as long as possible. I take two bites.

Wouldn't want to miss this beautiful sight in between bites would we?? :)


To help you understand how I will be doing my recipe posts from now on, I will explain a couple of things. First, there are honestly tons of ways to do each and every recipe out there. You can modify it in many ways to fit your tastes and needs. I will provide some of those options on here. I will put one or more * next to the ingredient with the explanation further down below the recipe with another * next to it so you can connect the ingredient with the other options. Next, I'm not really big on writing several paragraphs before I give you the recipe. Some days may be more chatty than others (ah hmm..today maybe?), but I know I usually just scroll on down to the recipe when I'm looking at other blogs. Why waste anyone's time? We just want the food info guys! Thirdly, you can ALWAYS make my mini desserts/snacks in regular size if you prefer, but almost always I make them tiny. Like I said earlier, I love making little things. :) Lastly, please leave comments on here or on my Facebook page about any suggestions, ideas, likes, dislikes, pictures of your completed creations, ect. I'd love feedback!

Now back to these fantastic muffins. I found the original recipe so long ago in a newspaper that I don't even remember what newspaper it came from or who it was written by. I've also baked them more times that I can count and have made numerous changes to them. The consistency of these mini muffins is more like a pound cake. They are dense without all the added fat. They are really good without the chocolate chips, but I highly encourage to add the chocolate if you can! Everything is better with chocolate!

You don't need to refrigerate these muffins for the first 3 days, but if there are any left by the 4th day you need to place them in a sealed container or bag and refrigerate or freeze them. Eat them within 7 days from the day you made them if placed in the fridge or within 3 months if frozen. I have frozen these many times and after thawing overnight in the fridge and placing in the microwave for 20-30 seconds they are just as delicious. Now, let us get those bananas ready!


The Tiny Delicious Kid-pleasing Banana Muffins
(Gluten free, dairy free, egg free, nut free, soy free, refined sugar free, Vegan, Vegetarian, low carb)
Makes 48 mini muffins or 24 medium size muffins

Ingredients

  • 1 1/2 cups all-purpose gluten free flour*
  • 1/2 tsp baking soda
  • 1/4 tsp baking powder
  • 1 tbs cinnamon
  • 1/2 cup unsweetened apple sauce**
  • 1 tbs vanilla extract
  • 4-5 mashed/pureed ripened bananas***
  • 1/2 cup dairy free chocolate chips****(optional)
  • Spray oil of choice

Directions
  1. In one bowl, combine flour, baking soda, baking powder, and cinnamon and set aside. 
  2. In a large bowl combine the vanilla extract and apple sauce. 
  3. Mash or puree your bananas. I use a food processor, but you can also use the ole bowl and fork.
  4. Add 1/2 of the dry ingredients to the wet mixture and mix well. 
  5. Add bananas and mix thoroughly.
  6. Add the remaining dry ingredients and mix. 
  7. If using add the chocolate chips and mix again.
  8. This is when I usually turn my oven on to 325 degrees and spray my mini muffin pans with spray olive oil. Turning the oven on before this seems to just waste electricity and unnecessarily heat my house as my muffins cook perfectly well doing it this way.
  9. Place muffin mixture in the sprayed pan cups (feel free to use paper baking cups if desired).
  10. Bake for 10 minutes for mini muffins or 20-25 minutes for medium size muffins. 
  11. Wait until the muffins have cooled for the best flavor.
The ones down the middle have gooey yummy chocolate chips (the good kind of gooey). The ones on the outside don't, but are still full of banana goodness!

If you like this recipe, please feel free to CLICK one of the "Reactions" below above the comments and/or add this recipe to your Pinterest board and/or share on Facebook! Thanks :)

Notes:
*I like to use the all-purpose gluten free flour with rice as the base because I am still fairly new to baking with gluten free and honestly don't have to time and money to buy several different flours and gums and learn how to put them together. I almost always buy my flour on sale when it is the same price or less than the wheat version. You can sub wheat all-purpose flour here if you eat gluten. I have not tried coconut flour, almond flour, bean flours, or others so I can not vouch for them. 
**The original recipe called for 1/2 cup of oil. I sometimes like to use olive oil for a little bit of a different taste and depending on my cooking mood that day. Turns out great either way!
***Use 4 bananas if they are larger. Use 5 if they are smaller. If you use too many, the muffins will fall apart after cooked and will be extremely gooey..not in the best way. The original recipe used 1 cup sugar and 2-3 bananas. If you would like to use sugar or honey or some other sweetener be my guest, and please let me know how they turn out if you do!
****Chocolate chips are optional. I use the dairy free kind because I can not have dairy. If you are fine with milk products, you can use any kind of chocolate chips you prefer. I personally like to use the Trader Joes brand.

Nutritional Facts: 
(per mini muffin without chocolate chips and made with the ingredients posted)
Cals-25, Fat-0.2g, Carb-6g, Fiber-0.7g, Sugar-1.8g, Pro-0.5g

(with 1/2 cup chocolate chips)
Cals-38, Fat-0.8g, Carb-7.5g, Fiber-0.7g, Sugar-3g, Pro-0.7g